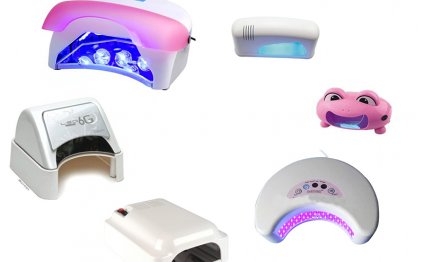
LED light for Gel polish
 122011
–update — I finally removed my polish last night plus it arrived off wonderful! No struggles no nail damage! Yay! Make sure to make use of 100percent acetone remover!
–update – it’s been 3 days and I have only one small small processor chip on my pointer finger! I would personally call this successful! 🙂
One of the largest problems within my life is chipped nail polish. Okay, fine. . . maybe not the biggest. . . however it’s an issue. We fork out a lot of time practically every day washing hair, so damp nails=chipped fingernails. Plus, the times I’m not cleansing my customers tresses, I’m often crafting which can cause chipped fingernails too.
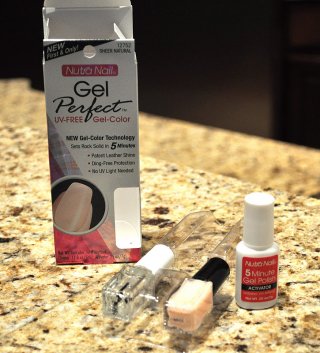
So when we saw this package for handmade Gel Nails, I happened to be happy! I’ve paid having both shellac and axxium placed on my nails, and therefore was wonderful, but We don’t possess time and energy to preserve it, nor the interest in spending money on the maintenance.
So I bought the package, accompanied the directions, and was not extremely impressed with all the results. My fingernails were tacky rather than very shiny.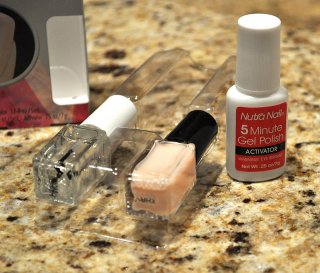 presently there is a great opportunity this can have quite well already been individual mistake because I did it type of quickly.
Once I went to eliminate the tacky polish, we undoubtedly had a need to immerse my fingernails in acetone nail polish remover (such as the package said) to get rid of the serum. Thus I learned a few things: 1. the “gel” element of this system absolutely works. 2. have actually acetone nail polish remover readily available (we looked-for it at 4 various stores!).
We though to myself, We wonder basically performed a base coating regarding the 5 Minute Gel Polish as “base coat” and polished my nails as usual if I will have better results.
Therefore here's what used to do:
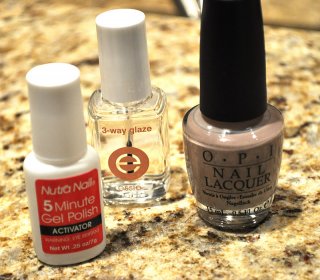
 Grab the 5 Minute Gel Polish through the bundle.
1. Apply 1 thin (but adequate for coverage) coat of 5 Minute Gel Polish.
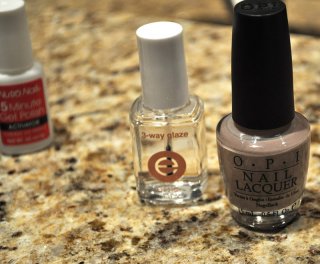
2. Employ Base Coat (1 coating of 3 method glaze).
3. Apply 2 coats of coloured polish.
4. Finish with a coat of 3 method glaze.
And right here ended up being my finished result:
Greige (grey+beige=greige) colored fingernails that dried in about 10 minutes!
(whilst the lighting effects makes my nails look see-thru, they don’t look like that in real life)
Therefore I’ll help keep you posted. I've a sense this is planning work like no bodies business!
 Now the following is my caution: if you attempt this, know that you’ll surely need 100per cent acetone to eliminate the polish (if you do it the way in which, or my “trial run” way). It works better to immerse some cotton balls in acetone and allow them to sit on your fingernails (about 4 mins) to break along the gel. Then have a cuticle pusher readily available to push off the solution. There is an opportunity you may scrape your nail bed which may induce peeling fingernails in the future. So only understand, this is a rigorous process and might screw up your all-natural nail somewhat. Or it might not. You will never know!
RELATED VIDEO

Share this Post
Related posts
Best LED light for Gel nails
Gel polishes pledge a durable, additional glossy manicure that doesn’t chip. Sounds perfect, right? But at $30 or even more…
Read More
LED for Lighting
Before we had LEDs, there were compact fluorescent lamps, or CFLs for brief. CFLs are fluorescent lights that emit light…
Read Morelatest posts
-
 LED Projector Lamp price January 16, 2024
 -
 LED light bulbs for sale cheap January 11, 2024
 -
 Light Bulb Shapes January 6, 2024
 -
 LED curing light for Gel nails January 1, 2024
 -
 LED Spot light bulbs December 27, 2023
 -
 Info on LED lights December 22, 2023
 -
 LED light Nail Dryer December 17, 2023
 -
 LED light for Gel polish December 12, 2023
 -
 LED Decorative Lamps December 7, 2023